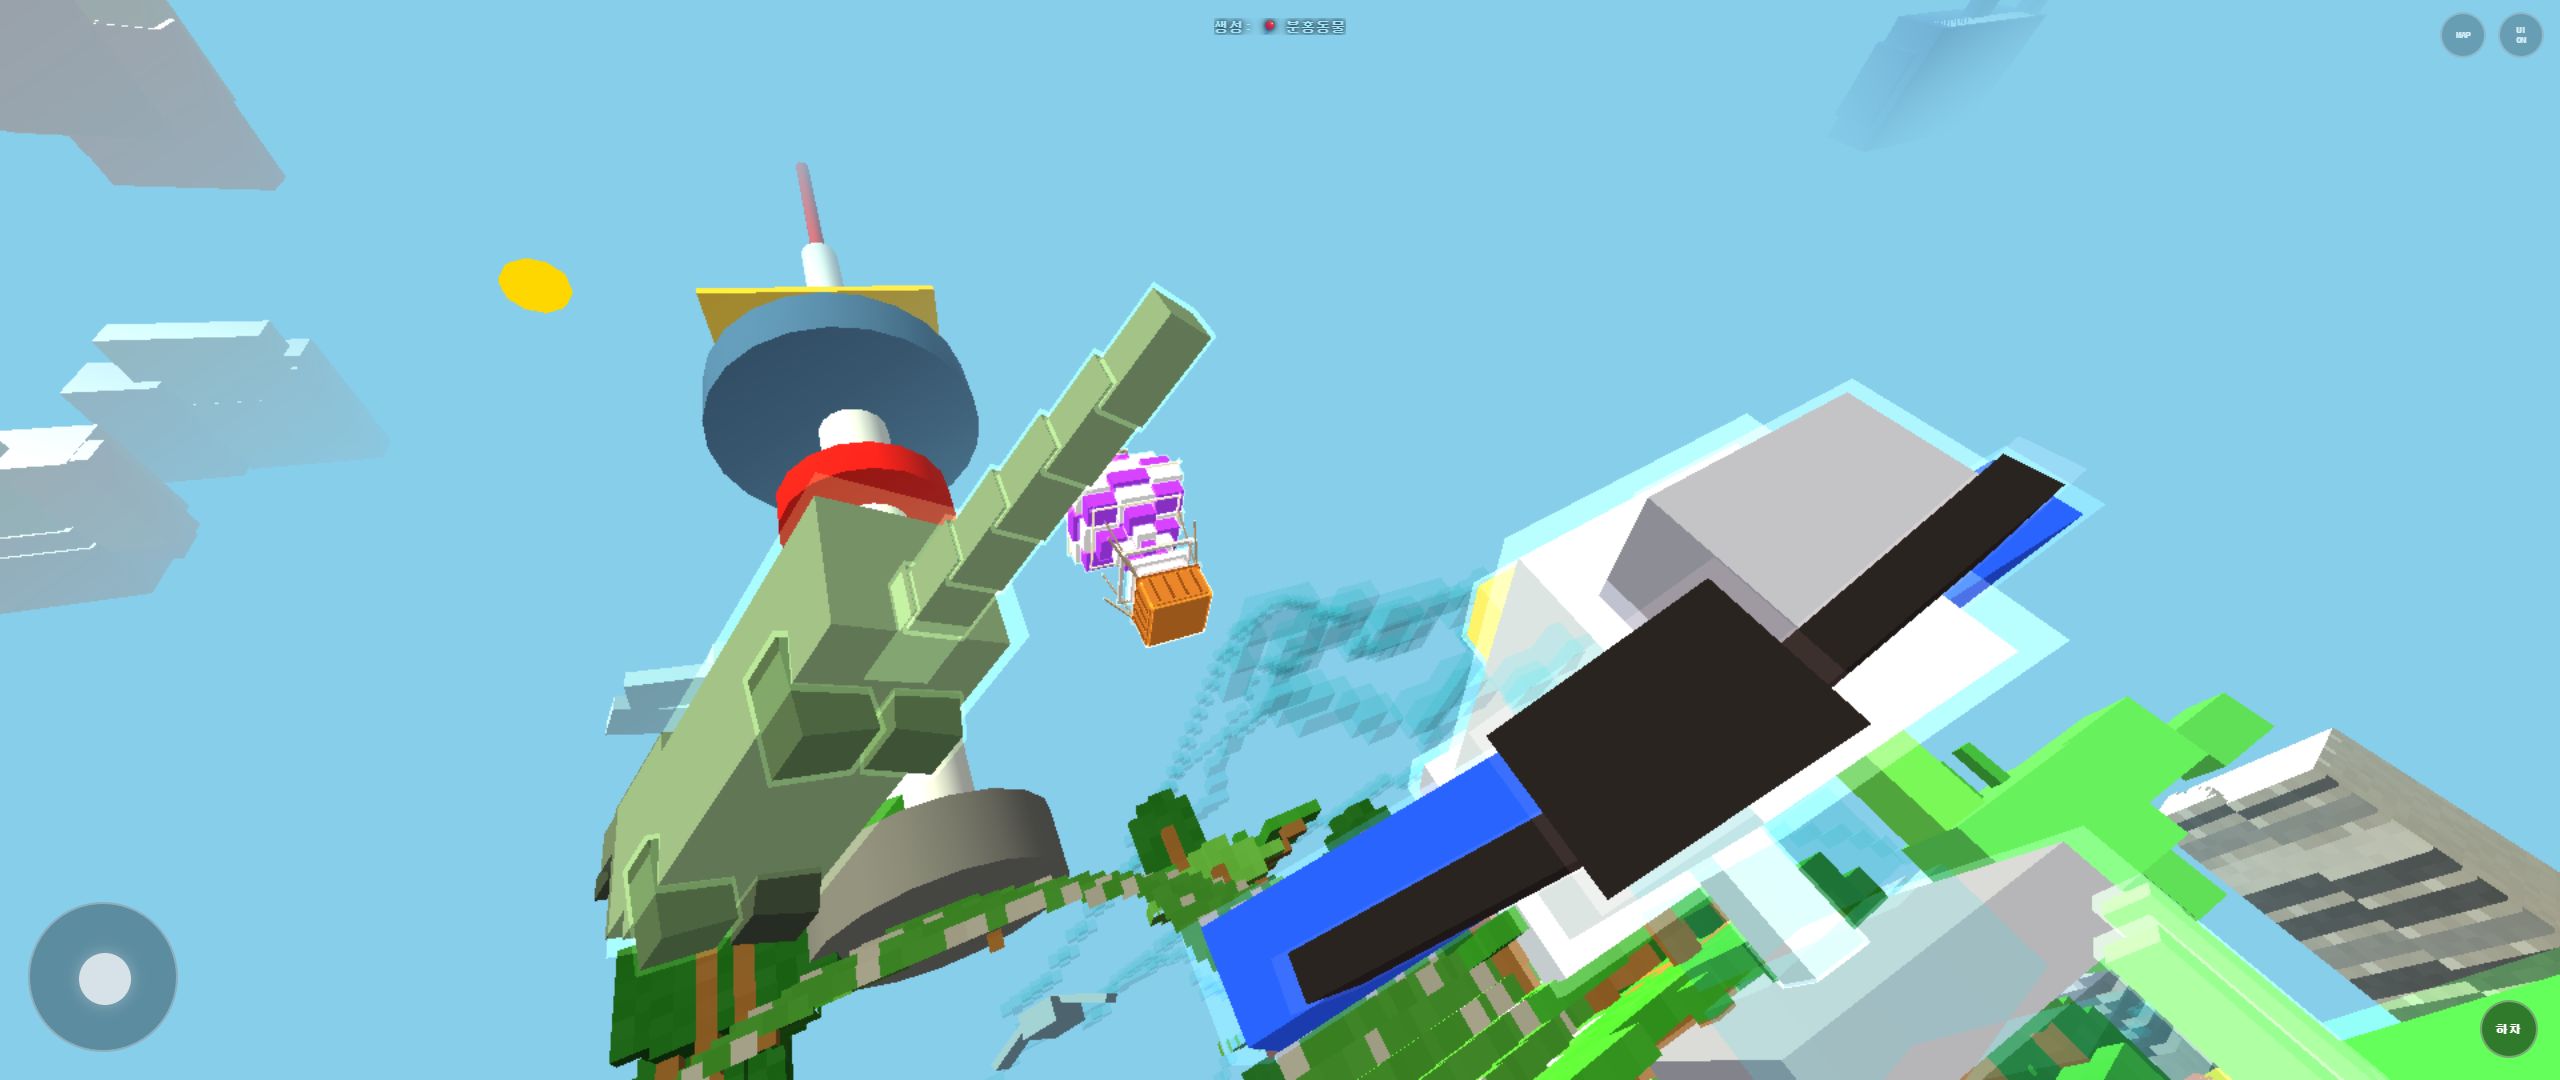
Rail Planet First-Play Guide: Finding Your Way Around the City Park Map
Written and reviewed by: Moashoo Rail Planet Development Team
Tested build: 2026-09-03 web build · Tested on: Chrome desktop on Windows
Language status: Original
Rail Planet's first map is a bright green park district surrounded by tall city towers. Your first session is less about speed and more about learning the shape of the map. This guide walks through the landmarks you can actually see, a beginner route, and how to use the camera so you never lose your bearings.
Quick summary
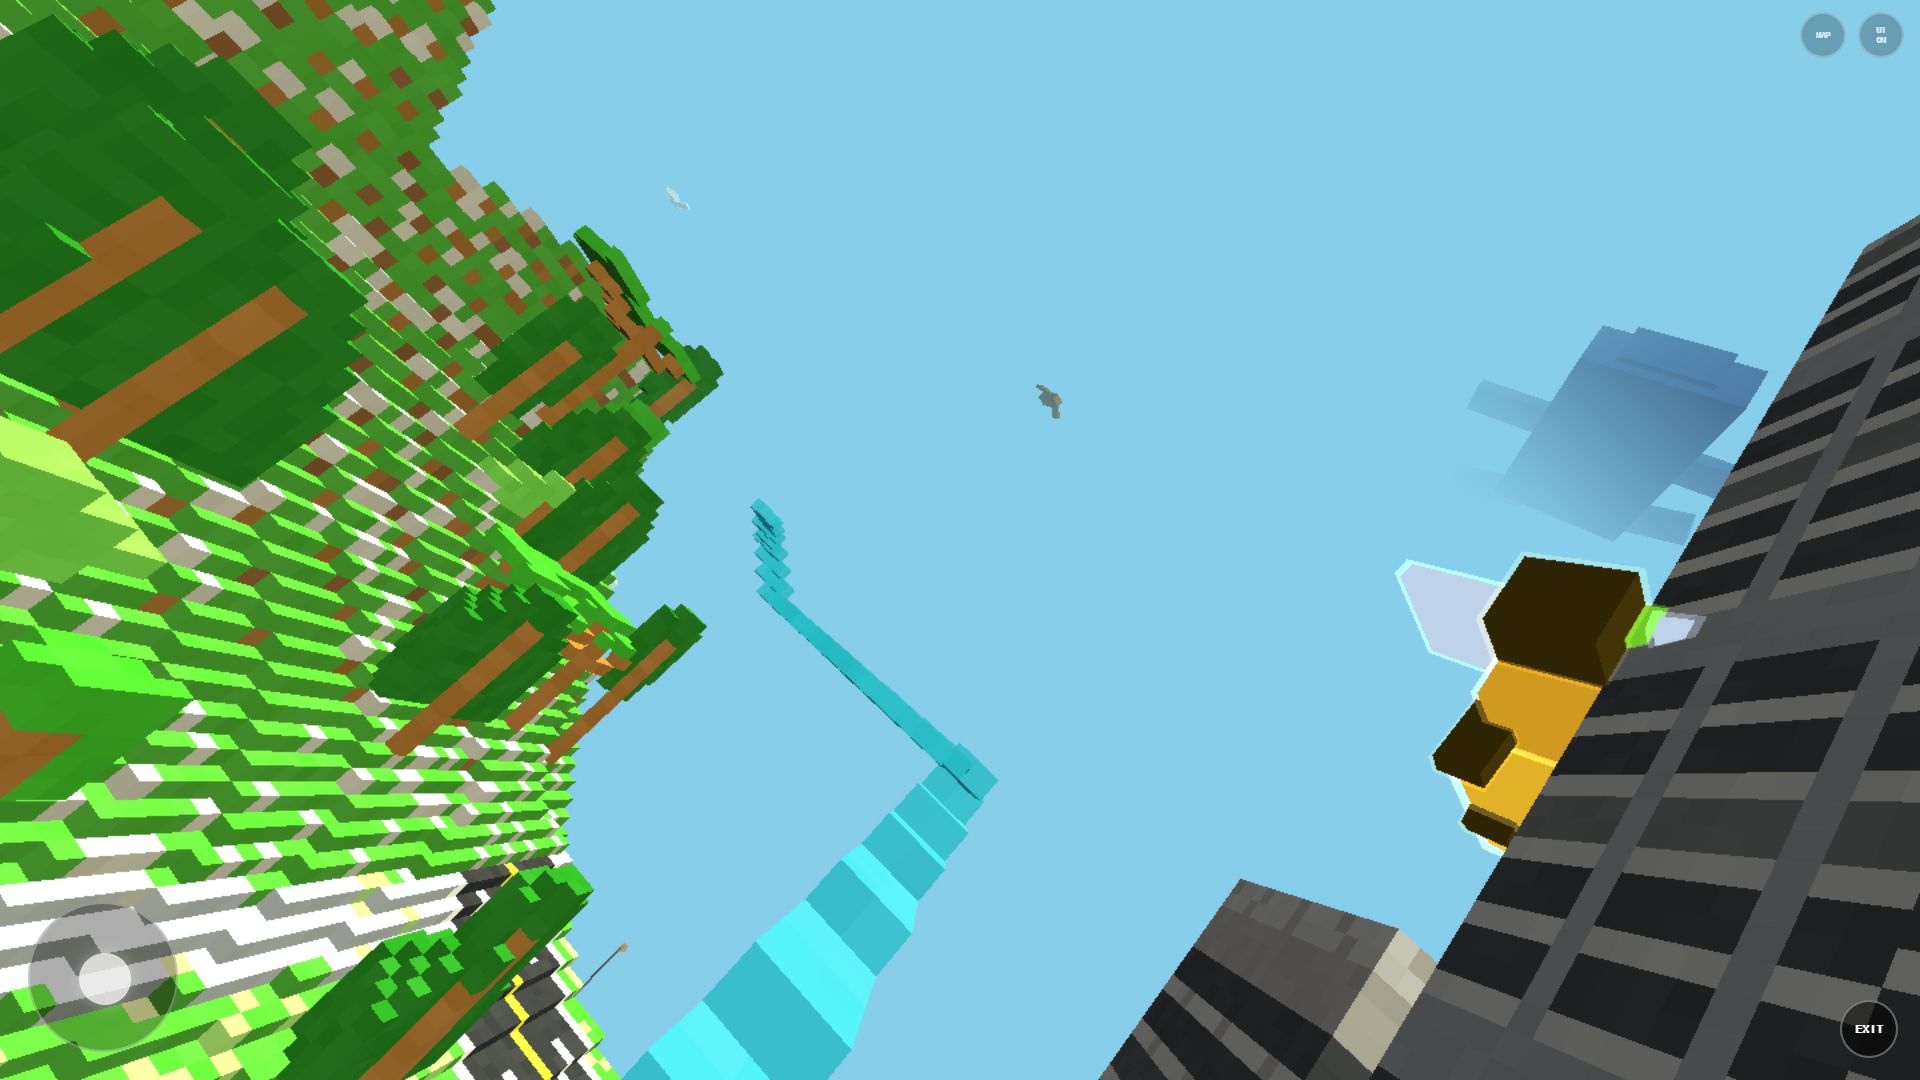
The starting area is a park-style island map. The four reference points that matter are:
- a round pond or waterfront,
- clusters of tall grey buildings,
- one large yellow sculpture that works as a landmark,
- tree-lined walking paths.
Instead of rushing, spend your first minute locating these four things from a high viewpoint. Everything else gets easier after that.
1. Find your landmarks first
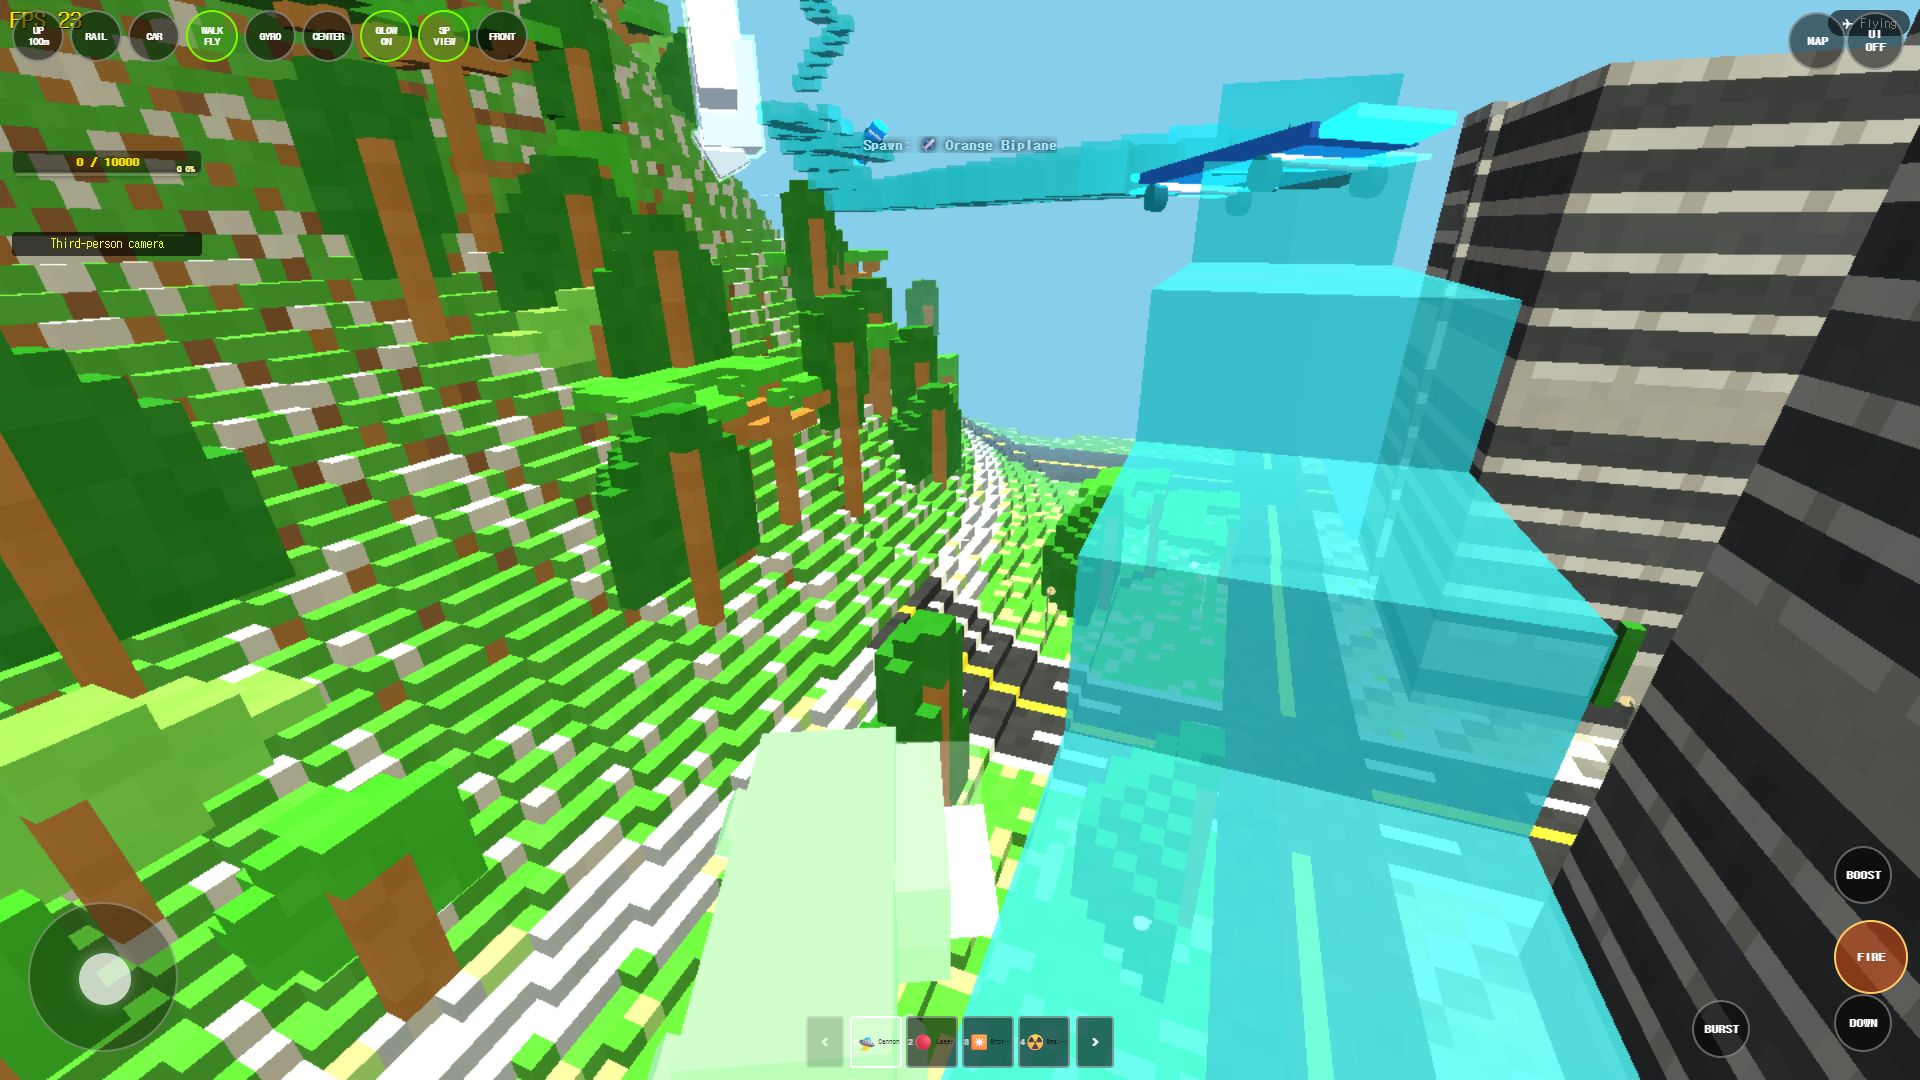
When you spawn, the camera can start close to a large structure, which blocks your view. Turn around slowly and look for:
- The round pond — it is the easiest thing to spot from above.
- The yellow sculpture — the single brightest object in the park.
- The tall buildings — they form the outer ring of the map and always point "outward".
- The tree paths — the walking routes between the pond and the buildings.
If you memorize the relative position of the pond and the yellow sculpture, you can re-orient yourself at any time: pond on one side, sculpture on the other, you are somewhere in between.
2. Use aerial and ground views for different jobs
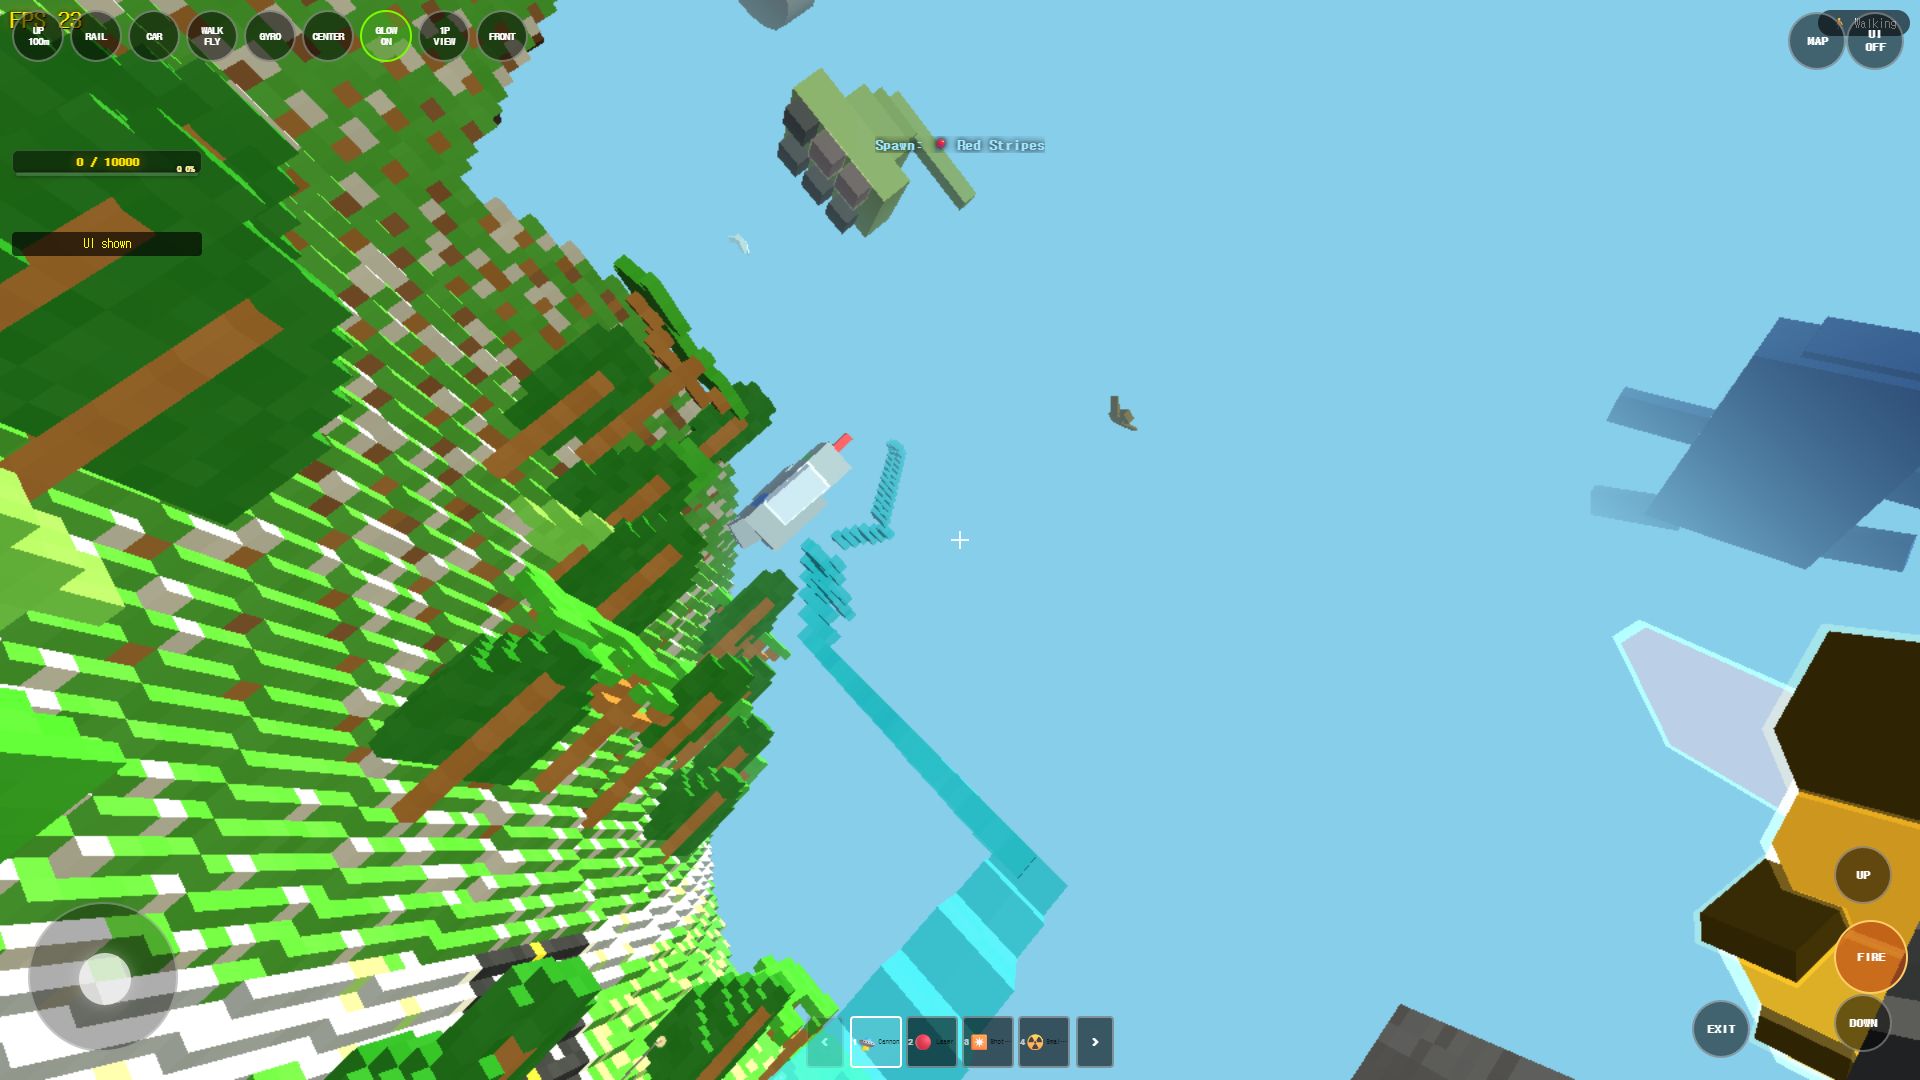
The game switches between high and low viewpoints, and each one has a job:
- High view: use it to plan. The pond, the sculpture, and the building ring are all visible at once.
- Ground view: use it to travel. Follow the paths and trees.
- Between buildings: exciting but the easiest place to get lost. Save it for later.
A simple first route that works well:
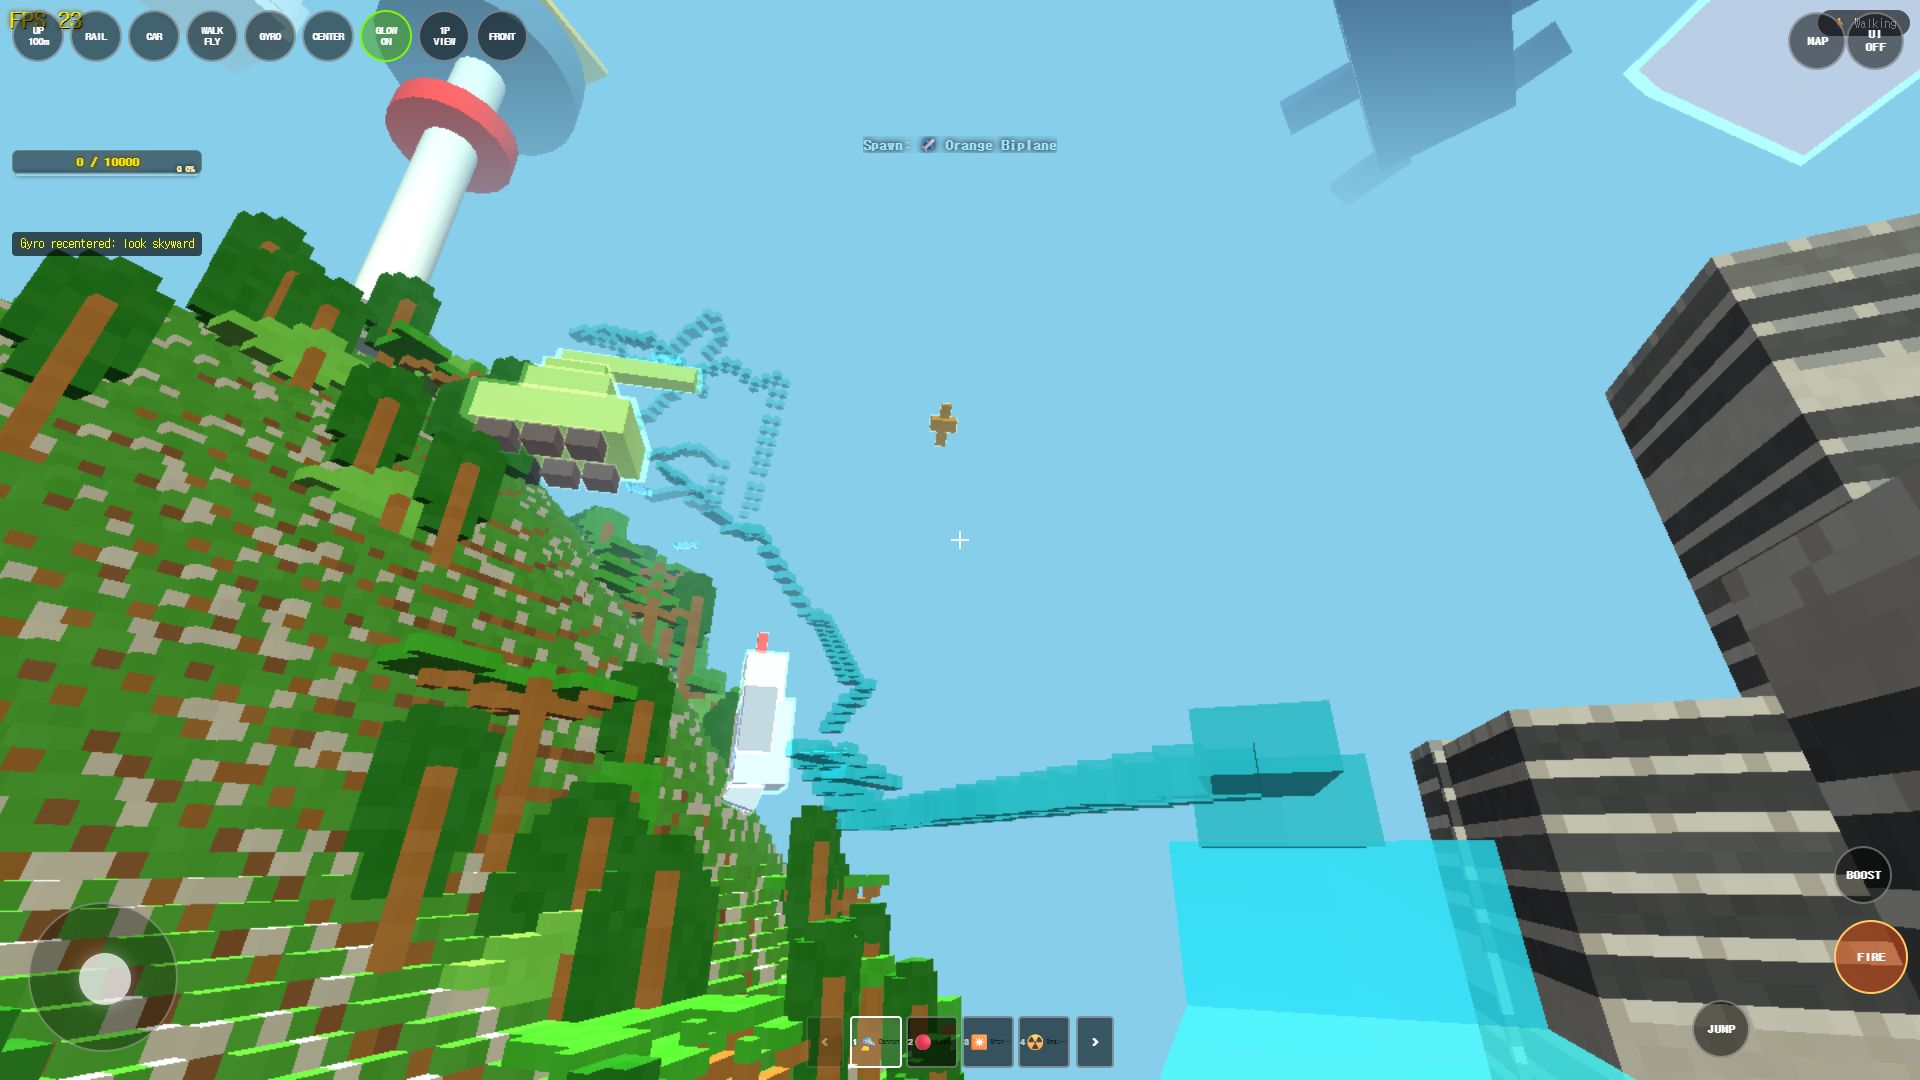
Spawn point
→ go up and find the pond + yellow sculpture
→ drop to ground level and follow a tree path
→ walk toward the tall buildings to check direction
→ go up again and confirm where you are
3. Slow down at the start
Fast movement and quick camera flips look great, but on a first run they are the main reason players lose direction. A better pattern:
- Pick one landmark.
- Circle around it slowly until you recognize it from every side.
- Alternate between ground view and high view while you move.
- Only try high-speed routes once you can point to the pond without checking the map.
4. If you get lost, go up
Almost every "where am I?" moment solves itself by gaining altitude. From a high viewpoint the whole map structure — pond, sculpture, building ring — is visible again, and you can pick a new direction. Treat "go up and look around" as your default recovery move, not your last resort.
5. What to try next
Once the park map feels familiar, the next natural steps are:
- exploring the darker late-game areas that contrast with the bright park,
- testing the different camera presets (
CENTER,FRONT,3P VIEW) to see which one suits you, - reading the performance settings guide if the city areas feel heavy on your device.
Frequently asked questions
Q. What should I do in the first minute?
Turn the camera around, locate the round pond and the yellow sculpture, and note where the tall buildings sit relative to you. Do not start fast travel yet.
Q. Why do I keep losing my direction between buildings?
The building ring blocks sightlines on every side. Drop to a path, walk until you see either the pond or the sculpture, then re-orient from there.
Q. Is there a map or minimap?
The map itself is the navigation tool: gain altitude, read the landmarks, pick a direction, then move on the ground.
Q. Should I play the dark areas first?
No. The bright park is the intended starting zone. The darker sections make more sense once you are comfortable with the camera and the landmark layout.
NOT AN OFFICIAL MINECRAFT PRODUCT. NOT APPROVED BY OR ASSOCIATED WITH MOJANG OR MICROSOFT. Minecraft is a trademark of Mojang Studios. Rail Planet and Moashoo are not affiliated with, sponsored by, approved by, or operated with MinecraftMaps.com.
Related guides
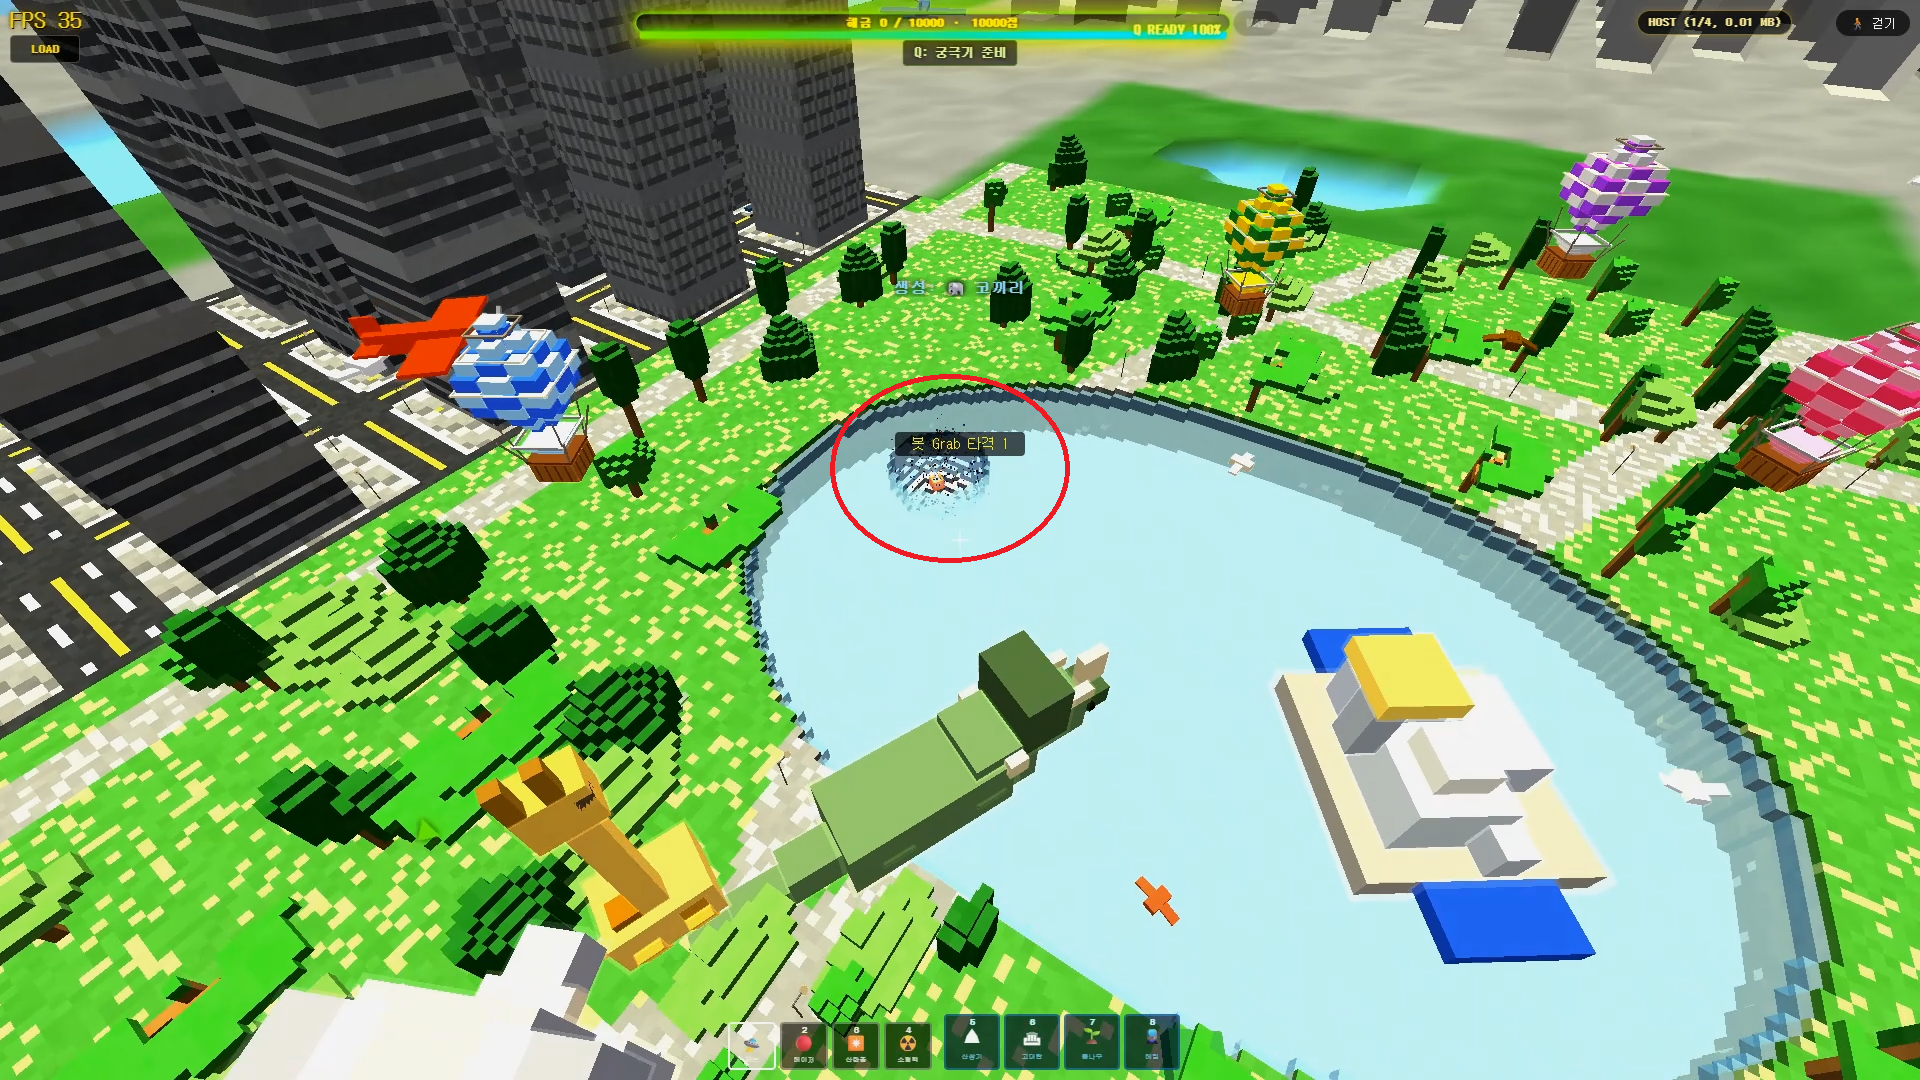
Rail Planet Close-Combat Guide: Grab, Lift, and Throw an Enemy Into the Sky
Rail Planet is not just a shooting game. Learn how the close-combat Grab system works — snap back at a target, chain vertical jumps, and slam an enemy into the ground or a lake. Works against bots and multiplayer players, with no eliminations and no end to the fun.
Read guidearrow_forward
How to Report Bugs and Issues in Rail Planet
Found a bug in Rail Planet? This guide explains how to report it, what information to include, and how Moashoo handles error reports.
Read guidearrow_forward
Rail Planet and Minecraft: Compatibility and Disclaimer
Rail Planet is not an official Minecraft product. This page explains the relationship, the Minecraft map importer feature, and the third-party disclaimer.
Read guidearrow_forward